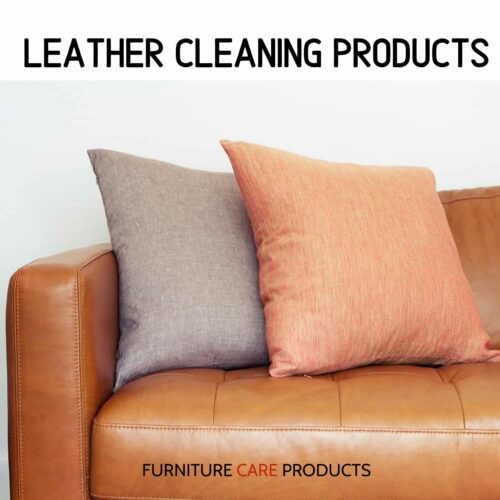
Sometimes all your leather needs to make it look like new again is deep clean and condition. In this article I’ll show you how to get amazing results when you do your next leather clean.
It doesn’t really matter whether it’s a leather sofa or leather car seats the leather cleaning and conditioning process is still the same. Keep in mind that light coloured leather could have one additional factor to contend with and that’s dye transfer.
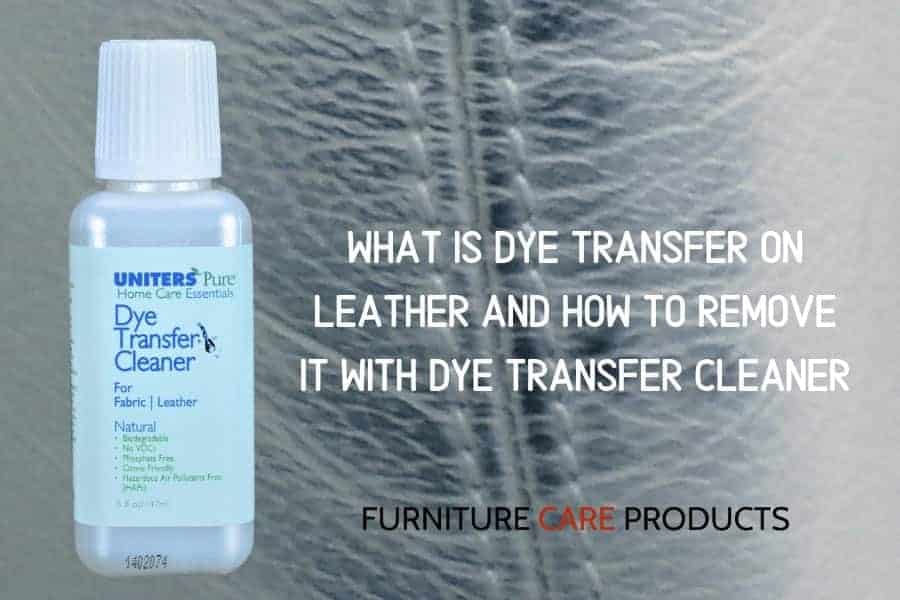
Dye transfer is where colour from clothing like denim jeans for example is transferred onto the leather over time. When the colour is repeatedly transferred it becomes impregnated into the surface of the leather leaving a dark surface stain that is difficult to remove using your traditional leather cleaning methods and may require and additional process using a dye transfer remover. But we’ll leave that for today and explain that in our article on “How to remove dye transfer from leather”
In this article the instructions will be based on cleaning leather that has become dirty overtime and how to clean and condition it.
These instructions are based on the leather being heavily soiled and in this case we’ll use a brush. If the item you are cleaning is only lightly soiled use the same process but substitute the brush with a cloth.
We’ll be demonstrating the process using AFC 5 Minute Leather Cleaner & AFC Leather Conditioner
Here’s what you’ll need to get the best results and a deep clean:
- AFC Leather Cleaner.
- Some soft clean cloths. I find microfibre cloths are a good choice but not essential. In saying that they’re an excellent cloth for removing excess dirt and they absorb the wet residue after cleaning with a brush.
- A small bristle brush for heavily soiled leather.
- 1 bucket of warm water.
- It’s also advisable to have some drop sheets to put around to stop water and dirt from falling onto your floor.
Once you have everything ready just get a cloth and dip it into the bucket of water and then lightly wring it out leaving enough water on the cloth to wet down the surface you’re going to clean.
Handy Tip: Do a small area at a time Eg: a base cushion or an arm.
Spray the leather cleaner onto the area that you have wet and using your brush start agitating the surface in a circular motion until you see the dirt coming to the surface.
Get a second lightly wet cloth and remove the dirty residue.
If the surface is not completely clean repeat the same steps again until there is no more dirty residue to be seen.
You can now move onto the next section until the whole item is clean.
Note: Always make sure that when you’re cleaning a section that it doesn’t become dry until you have completed that area.
Once you’ve completed cleaning the whole area, allow it to dry and then start the leather conditioning process.
Leather Conditioning
For this part of the job you will need:
- 1 bottle Leather Conditioner
- 1 bucket half filled with warm water
- 3 soft clean cloths 1 for applying the conditioner, one for buffing off and one for doing a final buff and finish. Microfibre are excellent for this.
To start dip the application cloth into the bucket of water and then lightly wring it out.
Pour some conditioner onto the damp cloth not directly onto the lounge and apply the conditioner in a circular motion across a section at a time.
When you have applied the conditioner to the whole item allow it to dry and get a second soft dry cloth and buff the surface off.
For best results get a third cloth and go over the whole area to finish off.
With a little bit of time and effort you will have done a professional clean that will give your leather a lift and make it feel smooth, soft and supple.
Warning: This cleaning process and these cleaning products are not suitable for Nu-Buck or 100% Aniline Leather


